
Ableton Live Tips & Production Techniques
Unlock the full potential of Ableton Live with Mind Flux.
From workflow shortcuts and drum programming to creative sound design and mixing tricks, our Ableton tips help you produce faster and sound better.
Each article dives into real-world techniques tailored for Techno, Tech House, and Melodic producers — clear, practical, and designed to spark inspiration in your next session.

Ableton Workflow & Tips
General advice, project management, productivity, and creative workflow.


What we aim to do in the blog post is outline 5 Ableton Tips, that are either overlooked or just so hidden we would never find them without someone lighten the way for us. These Ableton tips are not just for the beginner producer but also the advance producers among us. There are tips to help make your bass sounds beefier, new chord techniques and a few gems to help speed up your workflow. First up, let’s take a look at follow actions.

FM synthesis can seem a very mysterious beast and via a series of tutorials we are going to help demystify this for you, so you can take full control over your FM synths and make all the sounds you desire.
In this how-to tutorial, we are going to look at creating a four-note chord only using operator from Ableton. The huge advantage of using this technique over programming your chord in a midi clip or via a chord midi effect is that you get full control over each note. Meaning you can have say, a different waveform, envelope and volume (just to name a few) per note.
So, if you would like to learn more about FM synthesis keep reading

With the invention of the modern daw which is an all-encompassing workstation with a whole of host of controls, instruments and audio effects (plus so much more) it has never been easier to start making music. Almost all the effects have the parameter controls you could ever wish for. But sadly some do not (like redux), but for the Ableton user this is never a worry, we can simply make them ourself.
How do we do this I hear you ask, well in this how-to tutorial we are going to be showing you how to make a Dry/Wet control for redux. This is hugely important in the sound design, production and even the mixing stage. It allows you to be able to dial in the exact amount of your chosen effect.

To the bedroom producer having release-ready tracks may seem an unattainable goal but by making some small changes to your current workflow and set up, you can with time start pumping out banging tunes that can start pushing your career in the right direction.
In this post, we will be covering 5 ways to help improve your techno productions by focusing on some key mixing techniques specifically designed for techno and dark genres.
Before we start let’s make sure our tracks are ready for mixing, check out this blog post and use it as a checklist before you start to think about mixing. Ok without further ado, let’s get started by visualizing the mix.

Samples are an amazing source of inspiration but the fact is everyone who buys the pack has access to the same set of sounds, so the question is how do you go about making those sounds your own. Well in the blog post we will show you a selection of ways to do that.

Without a doubt Ableton is the most user friendly DAW when it comes to work flow and being able to get your ideas down quickly but there are a multitude of ways to make Ableton truly your own. In this series of blog posts we aim to showcase a number of ways to make Ableton work for you.

From time to time there will be situations when working with audio that its essential that you control the mid and side signals separately, yes you can do this with the EQ in M/S mode but what happens if you want to go beyond just a simple EQ. Well in this article we are going to show you how.

An EQ splitter is a very very useful tool which can allow you to split your frequency bands and add individual processing to each of these bands. In this blog post we are going be looking at how to set this up in Ableton Live 10 using the audio racks.

Sound Design in Ableton
Using Ableton synths, devices, and FX for creative sound building.


FM synthesis can seem a very mysterious beast and via a series of tutorials we are going to help demystify this for you, so you can take full control over your FM synths and make all the sounds you desire.
In this how-to tutorial, we are going to look at creating a four-note chord only using operator from Ableton. The huge advantage of using this technique over programming your chord in a midi clip or via a chord midi effect is that you get full control over each note. Meaning you can have say, a different waveform, envelope and volume (just to name a few) per note.
So, if you would like to learn more about FM synthesis keep reading

In this blog post we are going to look at how to make a snare using Ableton’s simply scrumptious FM synth operator. The main advantage of building your own snare apposed to using a sample is you have full control over how the snare sounds. For example does the snare need more body or sizzle?. Does it need to be longer?. Can the pitch bend be deeper?. And that is just a small number of elements that you can change and through out the tutorial we will see the huge array of sound design possibilities that Ableton presents us when making a snare or in fact any drum sound.

Kick Drum samples are great but you can on can only push and adapt them so far. If you change the pitch to much you can lose the tonality of it. So if you are looking to have full control over your kick drums then maybe you need to think about synthesizing them.

Drum & Rhythm Production
Focused on drums, percussion, groove, and layering.


In this blog post we are going to look at how to make a snare using Ableton’s simply scrumptious FM synth operator. The main advantage of building your own snare apposed to using a sample is you have full control over how the snare sounds. For example does the snare need more body or sizzle?. Does it need to be longer?. Can the pitch bend be deeper?. And that is just a small number of elements that you can change and through out the tutorial we will see the huge array of sound design possibilities that Ableton presents us when making a snare or in fact any drum sound.
Kick Drum samples are great but you can on can only push and adapt them so far. If you change the pitch to much you can lose the tonality of it. So if you are looking to have full control over your kick drums then maybe you need to think about synthesizing them.



In our latest video, we are going to look at using XLN audio’s amazing drum machine XO. With XO, we will be looking at loading our own samples, editing samples, routing and most importantly generating our own techno beats.
We will also look at setting up XO so you can quickly load it into any session and have a beat going in minutes which is perfect for people with little time on their hands.
What we aim to do in the blog post is outline 5 Ableton Tips, that are either overlooked or just so hidden we would never find them without someone lighten the way for us. These Ableton tips are not just for the beginner producer but also the advance producers among us. There are tips to help make your bass sounds beefier, new chord techniques and a few gems to help speed up your workflow. First up, let’s take a look at follow actions.
FM synthesis can seem a very mysterious beast and via a series of tutorials we are going to help demystify this for you, so you can take full control over your FM synths and make all the sounds you desire.
In this how-to tutorial, we are going to look at creating a four-note chord only using operator from Ableton. The huge advantage of using this technique over programming your chord in a midi clip or via a chord midi effect is that you get full control over each note. Meaning you can have say, a different waveform, envelope and volume (just to name a few) per note.
So, if you would like to learn more about FM synthesis keep reading
With the invention of the modern daw which is an all-encompassing workstation with a whole of host of controls, instruments and audio effects (plus so much more) it has never been easier to start making music. Almost all the effects have the parameter controls you could ever wish for. But sadly some do not (like redux), but for the Ableton user this is never a worry, we can simply make them ourself.
How do we do this I hear you ask, well in this how-to tutorial we are going to be showing you how to make a Dry/Wet control for redux. This is hugely important in the sound design, production and even the mixing stage. It allows you to be able to dial in the exact amount of your chosen effect.
To the bedroom producer having release-ready tracks may seem an unattainable goal but by making some small changes to your current workflow and set up, you can with time start pumping out banging tunes that can start pushing your career in the right direction.
In this post, we will be covering 5 ways to help improve your techno productions by focusing on some key mixing techniques specifically designed for techno and dark genres.
Before we start let’s make sure our tracks are ready for mixing, check out this blog post and use it as a checklist before you start to think about mixing. Ok without further ado, let’s get started by visualizing the mix.

With the release of Dystopian Signals, we at Mind Flux thought it would beneficial to follow the release up with some informational video. This video is designed to help you use the pack to create some Dark Techno ideas. Cause as we all know that creating that initial spark can be the hardest part of producing music.

Mind Flux is proud to present the Moog Big Bass Freebie, a meticulously designed collection of bass sounds created to elevate your techno, drum & bass, dubstep, and other gritty genre productions. This pack captures the powerful, deep, and gritty essence of Moog synthesizers, offering a rich palette of sounds that inspire creativity and innovation. Perfect for producers looking to add powerful low-end basslines to their tracks, this freebie provides the tools needed to craft professional-quality music.

With Techno its all about experimentation and within Techno over, the last 3 decades producers have continually pushed the boundaries of the musical norms. One clear example of this is making bass lines from soaking your kick in reverb a practise which in all music engineering books is frowned upon.
But let's be honest the grey-haired folk who wrote these books have probably never been to a club in their lifes and therefore have never embraced the gut rumbling power this technique can provide.
We at Mind Flux have created an audio effects rack for Ableton that has adapted this power. The rack has a selection of tools that allow you to easily create techno rumbling kick drums that will leave your studio walls shaking. Simply load a kick of your choice and let it roll.

Click here to watch the video: http://bit.ly/2kw4cMm
One of the hardest things to mix in music for most producers and artists is kick and bass, this is mainly due to the fact that these two elements require a lot of the same space in the frequency spectrum and if you get the bass and kick wrong it can take all the energy out of the track. Which can be rather demoralising
Well, don't threat, In this how-to, we will look to help with these issues and show some key steps on how to get your kick and bass sitting perfectly together. And once this is done, it can make the rest of your mixing job way more enjoyable.
What you will learn in this techno music production tutorial is:
Tuning
EQ
Compression
Dynamic EQ
NYC Compression
Bass Programming
Sidechain Compression
If you would like to check out more of our music production tutorials go to our youtube channels here: http://bit.ly/2RXbSDz

Today what we are going to be looking at is creating a 808 style hi hat, after you have followed this tutorial you will have all the custom 808 style open and closed hi hats you desire. Lets get started.
Thou wavetable has a category section called noise with some great wavetables they don't have the traditional noise sound we need to make, thou there is a trick to turn these into a hi hat.


In this tutorial, we are going to look at how to beef up our drum loops and samples using Ableton’s stock audio effects.

For Mind Flux’s newest blog series we have decided to open it up to the floor and ask our followers and friends what they would like to learn. And one request really stood out.
This request was to show how you could go about recreating Pat Thomas & Ebo Taylor - Ene Nyame Nam 'A' Mensuro (Henrick Schwartz Blend Mix).

In our last adventures into drum synthesis we looked at using synths to make our drum sound but you can also explore samplers to do the same. All you need is the raw material to get started. So for this kick we are just going to use a sine wave and Ableton’s Sampler.


Create a warm and punchy melodic techno pluck bass using BABY Audio BA-1. This step-by-step tutorial covers the oscillators, filter envelope, effects, MIDI pattern and final Ableton processing.
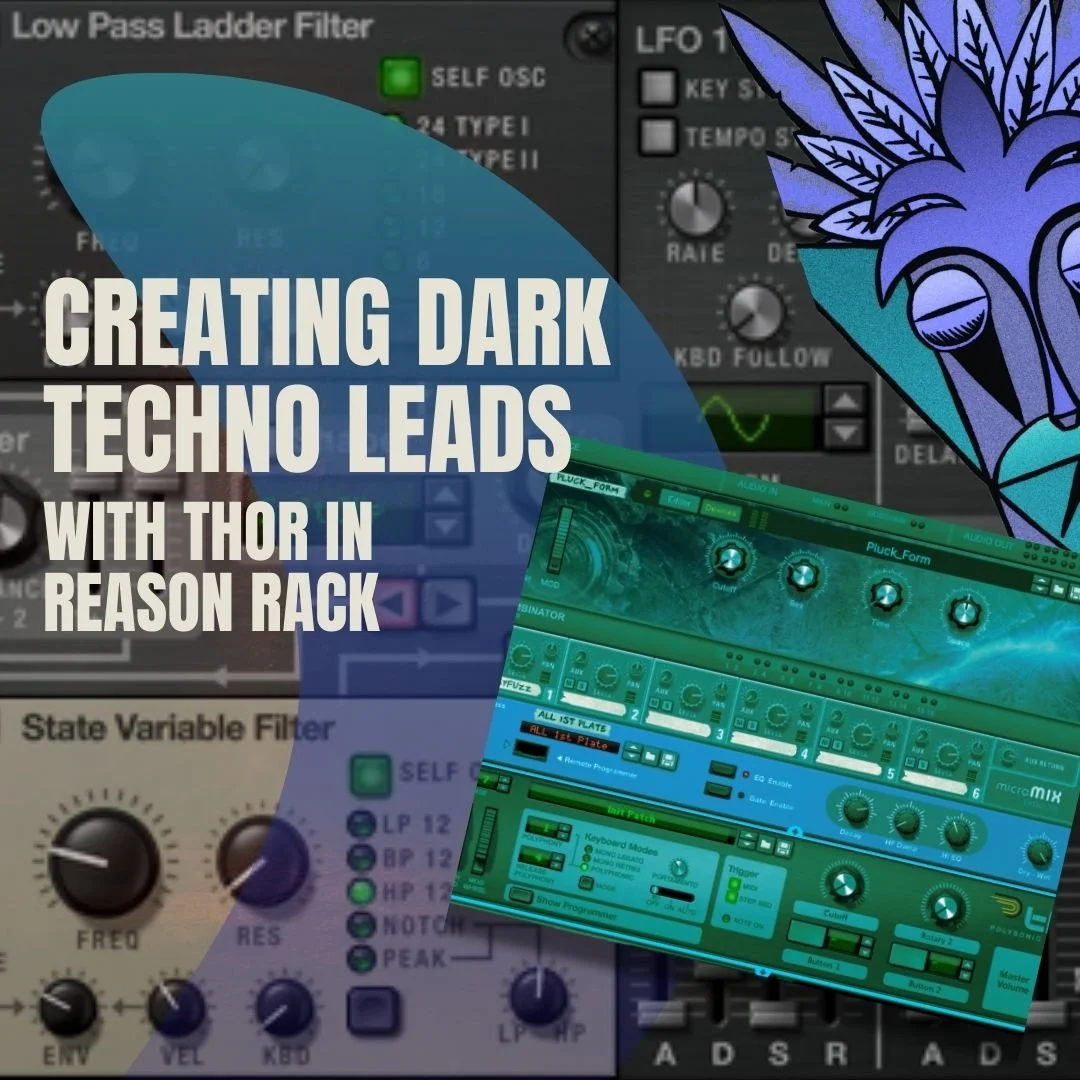
Learn how to design dark techno leads using Thor in the Reason Rack Plugin. This tutorial covers oscillator layering, filter routing, LFO modulation, distortion, and effects to create aggressive techno lead sounds.

Learn how to create rolling techno basslines using Monotone Bass in the Reason Rack Plugin. This step-by-step tutorial covers sequencing with Matrix, oscillator setup, filter shaping, delay routing, and saturation techniques to design powerful techno bass sounds.



- 808 drums
- 808 hihats
- ableton
- Ableton
- ableton mixing tips
- Acid
- Acid Techno
- Acid V
- analog techno
- Arturia
- Arturia Acid V
- audio effect
- audio effect rack
- BA1
- BABY Audio
- Bass
- bass
- bass drum
- beat
- blog
- chord
- clap
- course
- custom
- dark techno
- drum
- drum mixing
- drum sound design
- drum synth
- drums
- dub techno
- effect
- EQ
- free
- free loops
- free music
- free music loops
- free sample pack
- freebie
- fx
- grain delay
- hats
- hi hats
- house
- how to
- kick
- kick drum
- learn
- loop
- loops
- maschine
- massive
- massive x
- Melodic techno
- microhouse
- midi effect
- minimal
- mixing
- mixing bass and kick
- mixing tips
- moog
- native instruments
- operator
- perc
- percussion
- pluck bass
- preset
- raw dark techno
- raw techno
- sample pack
- serum
- snare
- sound a like
- sound design
- sounds
- star wars
- synth
- synth series
- synthesis
- tech
- tech house
- Techno
- techno
- techno kick
- techno mixing tips
- techno production
- tips & tricks
- top
- trap
- tutorial